How to Navigate the Pageinar Dashboard
Learning how to navigate the Pageinar dashboard helps you find every feature quickly — your broadcast page is the central hub where you manage your event, settings, chat, and broadcast all from one place.
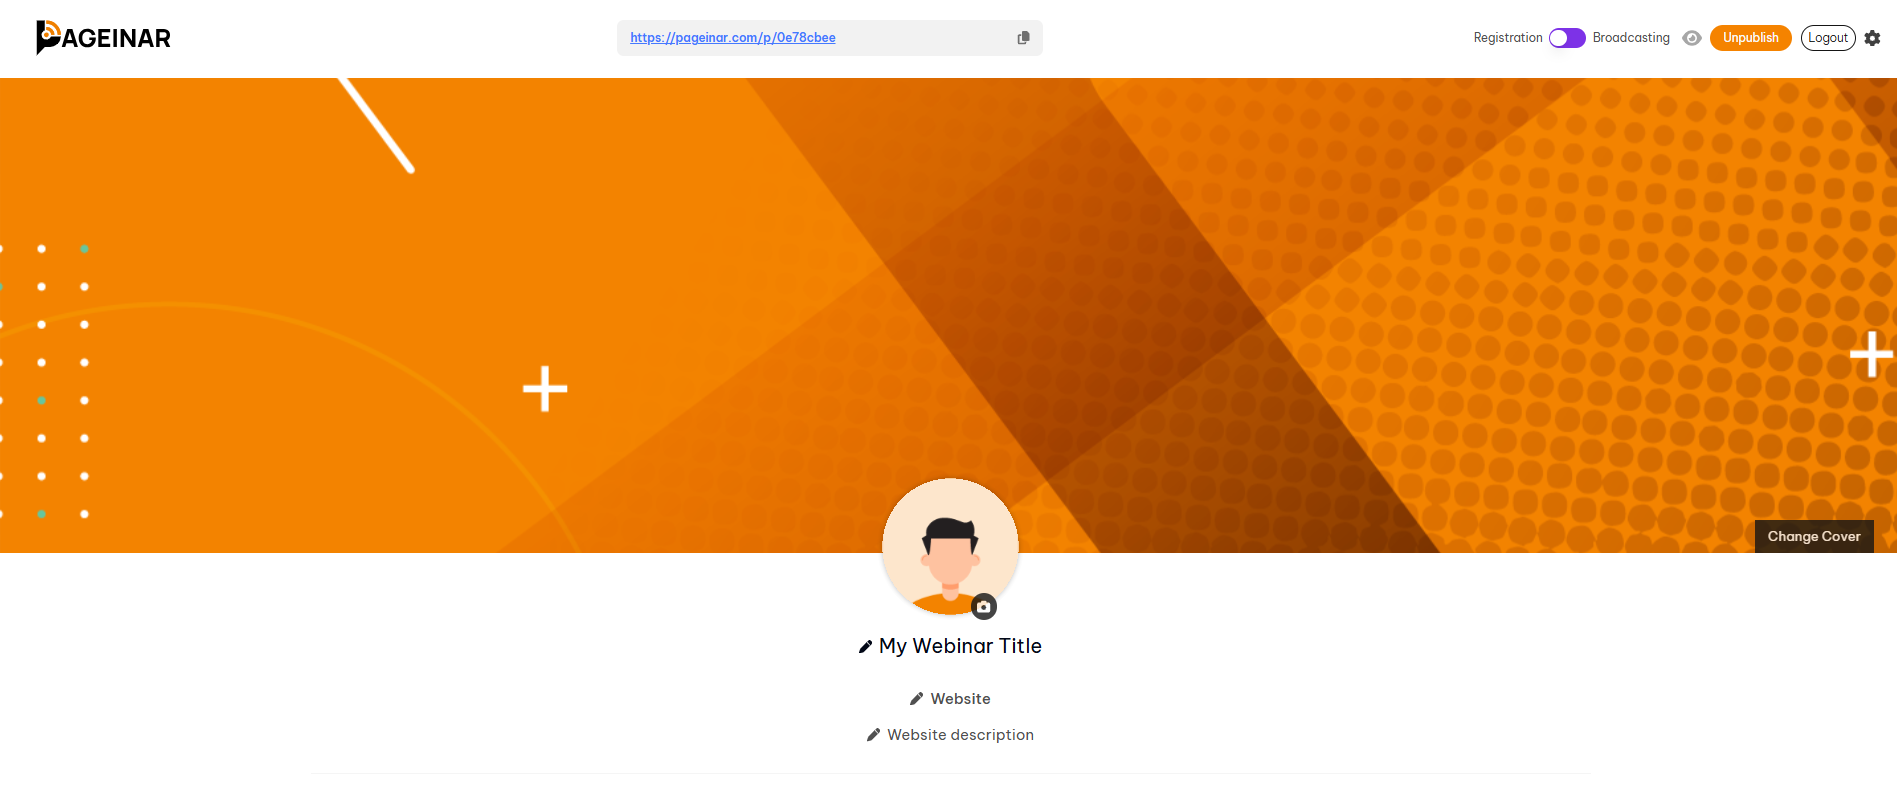
How to Navigate the Pageinar Dashboard
- Top bar — shows your page URL, the Registration/Broadcasting mode toggle, and the gear icon for Settings.
- Cover area — click to change your background image or color.
- Avatar — click to upload your profile photo or logo.
- Editable fields — pencil icons next to your title, website, and description let you edit inline.
- Bottom-left — the group chat panel where attendees interact during your broadcast.
- Bottom-right — the live broadcast area showing OFFLINE/LIVE status, Start Broadcast button, and viewer count.
- Gear icon (top-right) — opens the full Settings panel with Broadcast Settings, Registration Settings, Registered List, Recordings, Chat Settings, Subscription, Invoice, and Account.
Switching Between Registration and Broadcasting Mode
The toggle in the top-right corner switches your page between the two main modes. Registration Mode shows a lead capture form to visitors. Broadcasting Mode activates the live video area. You can switch at any time.
Tip: Familiarise yourself with the Settings panel before your first event — all configuration options are organised there by category.
Click the gear icon in the top-right corner of your broadcast page to open the Settings panel.
The Start Broadcast button is in the bottom-right area of your broadcast page, inside the live broadcast panel.
Use the toggle in the top-right corner of your Pageinar broadcast page to switch between the two modes.
Your page URL is displayed in the top bar of your broadcast page and in your browser address bar.
Click the pencil icon next to the title or description field on your broadcast page to edit it inline.