How to Manage Private Webinars in Pageinar
Managing private webinars in Pageinar means combining password protection, Registration Mode, and Registered List management to run a controlled, invitation-only event from your broadcast page.
How to Set Up a Private Webinar in Pageinar
- Log in to pageinar.com.
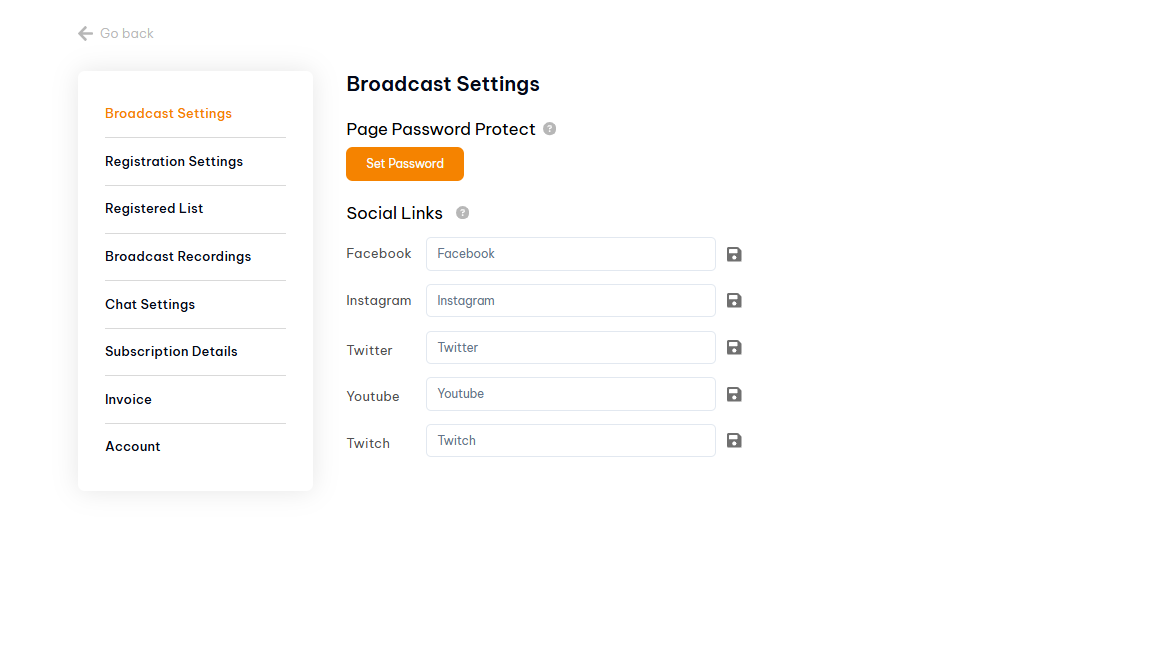
- Set a page password: gear icon → Broadcast Settings → Set Password.
- Switch to Registration Mode and configure your registration form fields.
- Share the page URL and password only with your invited audience via email or direct message.
- Monitor sign-ups in Registered List — add manual entries for VIPs if needed.
- On event day, switch to Broadcasting Mode and click Start Broadcast.
Tips for Running a Successful Private Webinar
- Send the password in a separate message from the URL to reduce the risk of it being forwarded publicly.
- Export your Registered List before the event so you have a confirmed attendee count.
- Set an offline message in Chat Settings so early arrivals see a welcome note.
- Enable Show Timer in Registration Settings so attendees see a countdown to the event.
Tip: For corporate training or paid events, combine a page password with mandatory registration fields (company + email) so you know exactly who attended and can follow up professionally.
Set a page password in Broadcast Settings, use Registration Mode to collect sign-ups, and share the URL and password only with invited attendees.
Yes. Use page password protection so only attendees with the password can access your page. Share the password selectively.
View and export your Registered List in Settings. This shows everyone who signed up through your registration form.
Yes. Pageinar records all broadcasts automatically. Access your recordings in Settings → Broadcast Recordings after the event ends.
Your attendee limit is determined by your subscription plan. Check Subscription Details and upgrade if you need a higher limit for your private event.